by Petticoat Prepper
First let me say, I am no expert. I have been keeping bees for the past year. It’s been fun, frustrating, interesting and challenging. I’ll share what I’ve done and hopefully those interested will find a bit of help. Just keep in mind; it’s rather like herding cats.
I am setting up to add 3 more hives to my backyard this year. I just placed my order for two more starter kits as I have one empty which I got for a swarm that left before I got back with it and then I have the original one (bees are still there).
Once I have all of them set up I will have 4. The maximum number allowed by my city is 5.
By law, if I have 5 or more I am required to register them with the State Agriculture Department. I don’t care to have the government in my backyard so I’m stopping at 4. The fee is very small and they check for diseases to help keep all the honeybees healthy.
I am prohibited from selling any of the bees, honey, etc. as that would make them ‘livestock’ and I’m not zoned for livestock…gotta love ‘em!
I would strongly suggest you look for a local beekeeping club to join. I would also suggest getting a decent book. My club suggests Beekeeping for Dummies. There are lots of YouTube videos that are very helpful and tons of websites too.
The first thing you need to understand is that it’s December 30, 2012, as I write this and that means you’re almost behind if you want to get going this coming year. Even if you don’t have a hive set up and clothes; get your bees ordered. You have no idea how hard it is to get them if you wait. My bees will come in April but I have to order them now.
Bees come in 3-pound boxes. Yes, that’s 3 pounds of bees and one mated queen shipped with a can of food. 3 pounds of bees will be about 11,000 bees. Yes, 11,000 that’s a lot of bees and you’re going to let them out of that box! My bees are Italian; they are yellow-brown in color with dark bands.
They are gentle, produce a good amount of comb and large brood which results in quick colony growth. They winter over a large amount of bees so they need a good amount of food storage. Italian bees are the most popular followed by Carniolan.
Ok, you’ve ordered your bees and now you need to start looking at a home for the ‘girls’ and a place to put them. There are several options for homes but I’m only talking about mine. I use the Langstroth method named after the ‘Father of Modern Beekeeping’.
I order my supplies from Ruhl bee supply as they are about 45 minutes from me. You can see their products at www.ruhlbeesupply.com depending on where you live you may want to order closer to home.
I order their PNW starter kit assembled. I have no desire right now to put this stuff together and I pay them the extra $50 figuring it’s worth the loss of frustration. Plus I don’t have to make a second ‘oh crap!’ trip to get something I broke.
This gives me everything I need to get the girls going. I also get a second medium super (terms are coming up hang in there), a queen excluder, mouse guard, and plastic feeder.
Raising Honey Bees Terminology on Hive Parts:
- ‘Super’ this is the box sections.
- ‘Deep Super’ this is where the girls live or stockpile food.
- ‘Medium Super or Shallow Super’ is where they make YOUR honey.
- ‘Frames’ this is the wood or plastic part that hangs from the super and to which foundations are attached.
- ‘Foundations’ this is a flat plastic or beeswax form that is held in place on the frames. They are stamped with a honeycomb pattern and the girls will draw comb on this.
- ‘Draw Comb’ this is where the girls make wax honeycomb.
- ‘Queen Excluder’ a plastic grate that keeps the queen from reaching the medium supers so you don’t get brood in the honey.
- ‘Brood’ baby bees.
- ‘Entrance reducer’ a small board with a notched section. This gives a new hive a smaller area to defend.
- ‘Plastic Feeder’ this is a small flat dish if you will that a canning jar of syrup fits into to feed the girls.
- Ok, the kit will/should have:
- 1 screened bottom board with a sloped front (don’t get the solid flat ones)
- 1 entrance reducer
- 2 deep supers
- 20 frames (10 each super)
- 20 foundations
- 1 medium super
- 10 frames
- 10 foundations
- 1 inner cover
- 1 telescoping or English garden cover
I also get cinder blocks from the lumber yard for the hive to sit on. I want them off the ground to help keep them dry. I want them up so any invading animals will have to stand on its back legs thus exposing their tender tummies to painful stings.
When you site the hive you want dappled shade. The sun will wake them so you want them to get some but you also want to protect from the heat of the day. A windbreak is important too as is a water source. I’m on a creek so the girls have plenty of water and the shade from my fruit trees helps keep them cool when we get hot.
A 5-gallon food grade bucket with a line of holes drilled a couple inches from the top and filled with water and a couple inches of packing peanuts will work fine if you don’t have water within half a mile. Peanuts give the girls something to stand on so they don’t drown and the holes let rain water drain out so you don’t lose the peanuts.
Wet bees are sick and unhappy bees. Take care to adjust the blocks or pallets so the hives lean forward a bit to help drain out any moisture. In the valley here we get lots of rain so I worry about drainage a bunch.
The last I’m covering for this part is clothing and hand tools. Look through the style and types of beekeeping clothing and pick out what appeals to you. I bought a one piece pull over jacket with hat and veil. I like it as there is no zipper opening for a bee to find.
The ‘hat’ part slides around a bit and I’m sewing a ribbon inside to tie under my chin to see if it will be still on my head. I find a bandana helps to keep my long hair contained and sweat out of my eyes while working the bees.
I added painter’s coveralls for my pants. It’s a disposable one and I found it hot to work in during the heat of summer. I like it because the pant cuffs have elastic and I wear them outside my boots. I may look for just pants. I bought bee gloves with mesh at the wrist to help cool me off.
The thing to think about when trying on the official outfit is being able to bend and stretch. AND how many openings are there? Bees will search you while you work and I for one do not want one inside with me!
Raising Honey Bees Tools
Get a good hive tool. Don’t scrimp here you use this for just about everything. A smoker and fuel is a must. Learn to keep the smoker going. You want cool smoke for the girls never hot. A bee brush is nice. I used a small fresh branch with leaves before I got my brush and it worked fine, but I like the brush.
A frame holder is great to have. This hangs on the side of the super and you remove the first frame and place it there while you work your hive. This gives you a bit of space to move the remaining frames forward.
A frame grip is one of those things you think is stupid to have until later in the season when you’re trying to pull up a frame filled with pounds of honey and bees. Trust me you never want to drop a frame of bees. This stupid little tool is a must!
The big day has arrived; your bees are ready for pickup!
I was both nervous and excited when mine came. Something I wish I’d had and will for this next group of bees is a sprayer bottle of water. You know those plastic plant misters? It was hot the day mine came and I picked up in my car. The girls rode in the trunk.
I was worried about them overheating and stopped often to cool them down. I was afraid some police officer would see me on the side of the freeway fanning my open trunk frantically and think something was amiss…. I think lightly spraying them may have helped. They use their wings as fans and boy were they trying to cool down.
When you pick up your bees be sure to get a container of Terramycin. American and/or European Foulbrood isn’t something you want. Make sure you’re getting bees from a seller with a good reputation. If they get American Foulbrood your bees and hives will most likely need to be destroyed.
I gave the girls two tablespoons shaken over them when I first hived them. After that you treat spring and fall, follow the package directions. Also, pick up some pollen patties to feed them as this will give them a good start.
Your hive should be set up already. You’ll only need one deep super for now. The bees will build up and you want to make them almost fill each super before adding another. Store your second deep and the honey supers until later in the season.
When you arrive home with them place the box near the hive unless it’s raining then put them out of the wind and rain. Give them a spray of water and let them sit. They can stay in the box for a day or two just be sure to spray with water off and on. The can hanging inside is their food.
This day or two of rest will give them time to become acquainted with their queen. Each queen has her own pheromone scent and there may be some confusion during shipping as many boxes of bees will have been shipped together thus mixing the pheromone scents.
You will need to feed them at first until they have their house set up. 2 parts sugar to 1 part water. Bring your water to a boil turn off heat and add sugar, stir until dissolved, cool completely. This will be the food for them. Pour into canning jars or old mayo jars and screw into the plastic feeder.
Now let’s get ready to hive your bees hopefully on a sunny day with no wind. First, take a shower. Don’t use scented soaps, perfume, cologne or deodorants. Take off any rings just in case you get stung, don’t want to have your favorite ring cut off a swollen finger.
If you do get stung, scrape off the stinger never pull it out as there are venom sacks and you’ll only add to the amount in the bite. Stay calm and smoke around yourself quickly. There is a pheromone released by the bee when it stings that signals others to follow and defend the hive; smoke and step away for a minute.
Ok, the smoker is working nicely with cool puffs of smoke and you’re showered and ready to don your official outfit. Sprinkle some baby powder on your hands, according to the dummies book the bees like it. I figure it helps for sweaty palms.
Dress in your beekeeper suit making sure to close any openings at ankles, neck, and wrists. Take your hive tool, sugar water sprayer and smoker with you; spray the girls with the sugar/water mix. Don’t saturate them but give them enough to get them busy cleaning each other.
Pick up the box and give it a sharp rap or two on the ground to force the bees to drop to the bottom. See the little wooden cage inside the box of bees? This is your queen bee and her attendants. You want to remove this box first. Locate the metal tab that holds this cage in place next to the can.
Carefully pry the can of food up while holding onto the metal tab keeping the queen cage in place. Do Not Drop The Queen! Once the can is out, quickly remove the queen cage and replace the can in the box, don’t worry about the bees that escape they’ll stay near the queen.
Remove one frame from your deep super and store until next week. Hopefully, the place you got your bees from gave you some mini marshmallows to plug the queen cage with. If not, I guess you’d better have bought some. The queen cage will have a candy plug in the end.
You want to remove this plug, use a screw to get a hold on and then gently pull out and replace with 2 mini marshmallows. Don’t let the queen or her attendants escape.
Take a really good look at your queen; you’ll need to be able to locate her next week. If you managed to buy one that’s marked it’s a lot easier to find her. .Once you replace the candy plug fit the queen cage between the two middle frames.
There is generally a metal tab on her cage that you can bend over the top of one frame to help secure it in place; if not then wedge between the two frames in the middle. Make sure to angle the plug end up in case one of the attendants dies so its body doesn’t block the queen’s escape route.
Also, be sure the screened side is facing down so the bees can bring her food. The bees will eat through the marshmallows to free the queen. Once you’re sure you’ve got the queen secured, it’s time to let the bees out and into their new home.
If they are very active inside the box, spray them again and rap box to drop them to the bottom. Pry out the feed can and set aside. Then shake and pour the bees over the queen’s cage. Some will stay in the hive around the queen and others will fly around.
Stay calm and work slowly; it’s scary to be surrounded by this many bees but remember, they are looking for the queen right now and have no honey to defend. You can give puffs of smoke around to help calm them if needed. Once you have most of the bees out of the box sit it at the entrance to the hive, opening facing up. The remaining bees will smell the queen and move into the hive.
If they are very active you can smoke them to calm them down just don’t overkill with the smoke. Shake two tablespoons of the Terramycin over the bees and frame tops in the hive. Place half a pollen patty on top of the frames; you don’t need to remove the paper.
Take the inner cover and starting at the back of the hive, slide it carefully into place. This will allow the bees to move out of the way and you won’t squish any. Place the telescoping cover on top of that.
Insert the plastic feeder with filled food jar into the front of the hive at the entrance. I find with the slope of my hive I have to shim the feeder to make it leveler. If I don’t then the food seems to flood out instead of dripping out slowly. The entrance reducer will most likely not fit with the feeder in place.
Stuff the entry with grass or leaves to reduce the area leaving only about 2 inches of opening. This will give the girls a smaller spot to defend from invaders.
They will remove this on their own as they feel more confident in their ability to defend their new home. Once you see they’ve done this you can clean the remaining grass and leaves out with your hive tool. You’ll use the entrance reducer later to help combat stealing. In the morning you’ll be able to remove the box and return it for the deposit.
Congratulation! You’ve hived your first bees!
Now leave them alone for the next week, no peeking. Just be sure to keep the food jar filled and enjoy their gentle hum. Part three will go over the types of bees in a hive, their jobs, and your first inspection. Your bees have been coming and going now for a week and if you’re like me you’re dying to take a look inside.
Before you do, however, I want to explain what’s going on inside so you’ll know what to look for and what to expect. I’m listing the bee’s jobs in the order assigned as the bee gets older.
Your bees have been coming and going now for a week and if you’re like me you’re dying to take a look inside. Before you do, however, I want to explain what’s going on inside so you’ll know what to look for and what to expect. I’m listing the bee’s jobs in the order assigned as the bee gets older.
Housekeeping – is the first job a new bee has from the moment it crawls from the cell. They clean the cell they emerge from as well as any others that need tidying up for more babies, pollen or honey.
Undertaking – the hive is a very clean environment and the most sterile in nature. During the first couple of weeks of life, one of the tasks is to remove as far as possible from the hive any bee that’s died. If you sit and watch the comings and goings you’ll see a dead bee being dragged off. Sometimes the best the little bee can do is move to the entrance and push off to the ground.
Nurse bee – the young worker bee tends to her baby sisters by feeding and caring for the developing larva. On average up to 1,300 times a day for each developing bee.
Royal duty bees – because the queen isn’t able to tend to her most basic needs, she has attendants. They not only groom, feed and ‘pooper scooper’ for her; they also coax her to keep laying eggs. While she may be queen she is a slave to her job.
Stockpile bees – these are bees inside the hive that greet the forager bees and take the nectar and pollen from them. They deposit the nectar or pollen in the designated comb cell. If nectar they add an enzyme and fan to evaporate moisture to turn it into honey. Both honey and pollen are food for the colony.
Fanner bees – workers take turns cooling the hive and reducing the humidity. You may see during honey flow or high heat days a line of bees at the entrance facing the hive. They will be fanning their wings drawing cooler air into the hive and others inside will fan to move it through the hive. They also have a gland that releases a pleasant sweet odor into the air. You may be able to smell it as you approach. This signals the bees an orientation scent to help them find their home.
Builder bees – these are the bees that make the wax and draw comb.
Guard bees – these are the bees at the entrance to the hive. You’ll know who they are if you sit and watch for a bit. Every returning bee will check in with the guards before entering. If a bee from another hive were to try to gain entrance the guard would fight and kill them.
Forager bee – these are middle-aged bees. You’ll see them hovering up and down and side to side in front of the hive to orient before taking off to find food. This is the most dangerous job in the colony.
Aside from maybe being eaten by a bird, they must visit about 5 million flowers to produce one pint of honey. And they will forage a two to three-mile radius from the hive in search of provisions.
They literally work themselves to death, you see them returning with torn wings and battered bodies but they keep at it until the very end of life.
The Drone – the only males in the colony! There are only about 100 in the entire colony of probably 60,000 bees. His only purpose is to mate with the queen. Now before you guys cheer him on, come fall when the weather cools and mating season is over…the girls toss them out to die 🙁 .
The Queen – She controls the hive. She lays eggs to keep the colony alive and if needed signals half the colony to swarm away with her.
So now you know who’s who on the playing field. Let’s go over what you’ll be looking for on each inspection.
Repeating the prep on shower, outfit, smoker, and tools grab your one frame you took out when you hived your bees and head to the girls. Let them know you’ve arrived by giving a few puffs of smoke at the entrance. Then after a minute, pry the telescoping lid up and give a couple of puffs of smoke there and close the lid.
Wait a minute before removing the lid. Carefully, lay it on the ground inside up. Now a puff or two of smoke through the hole of the inside cover. Gently pry the cover up and lay it across the upturned lid.
If the girls are still topside drift a bit more smoke over the frames and into the hive. This will make them think there’s a fire and they will busy themselves by gobbling provisions in case they need to bug out. Position the frame holder on one side of the hive and place the frame you brought back there. T
ake hold of the queen’s cage and gently slide the frames so you can remove the queen cage. Have they eaten the marshmallows and is she out? If she’s out ….yippee! If not go ahead and release her. If you have to release the queen then slide all the frames to one side and add the frame you brought back.
Position the frames together and evenly spaced from the super on the end frames. Replace the two lids and wait a week to check for the information below. Your queen needs time to work.
If your queen was released you want to slide the frames to one side and start checking each frame; both sides of the foundation. You’re looking for drawn comb and eggs and larva. The eggs will look rather like a very small piece of rice in the middle of each honeycomb cell.
You only want to find one per cell. If you’ve two then the queen may have left/died and you have a laying worker and will need to re-queen right away. It’s the same procedure as installing the first queen; other than the bees are already in the hive.
While you work your inspection listen to the girls. There should be a gentle hum from them, happy busy bees. If you hear them start to rev up, stop and look at them. Are they lining up and looking at you? If they are then they’re becoming upset with you.
Give them a bit more smoke to calm them down. I always carry my lighter and additional smoker fuel just in case. Sometimes it seems I can’t keep the smoker going and have to relight it or I take too long and need to refuel.
They will start working on drawing comb and laying eggs in the middle frames and work their way out. You want to check the egg pattern of your queen. There should be few cells she’s missed and there should be pollen and honey/nectar around the perimeter although not so much the first week.
Remove each frame, shift the lower edge slightly towards you so you can see the surface of the foundation but not so much that the nectar drips out. Then to view the other side, raise your left arm straight up so the top of the frame is straight up and down, then turn the frame to show the other side (rather like turning a book page)and lower your arm again.
You have to keep the foundations fairly straight or any nectar will fall out. The dummies book has a good picture in it. When you pull the frame out of the hive the wood top will be on top of the foundation and when you flip it to view the other side it will be on the bottom.
Reverse the procedure to right the frame and replace in the super. Each frame goes back in the same spot you took from. Work over the hive in case the queen is on the frame you pulled to check, she may jump off to hide and you don’t want to drop her in the grass as she may not be able to find her way home.
Later in the season, you can move the far outside frames one or two spaces towards the middle to encourage them to draw comb but never move to the center of the hive.
Try to find the queen as you work through the hive. If you can’t find her but see eggs then you know she was there at least two days ago. She’s hard to find especially if you’re looking through a full colony of 60,000 bees. If you have a queen that has a bad laying pattern, lots of skipped cells then you might want to dispose of her after acquiring a new queen.
Once you’ve checked all the frames gently slide them as a single unit back across the super and re-add the one frame you removed last week. Every week check your bees for eggs, larva and brood.
Here’s a photo I found on one website http://www.arkive.org/honey-bee/apis-mellifera/image-A22601.html of eggs, larva, and capped brood. As the season progresses you also want to check for pollen and honey stores. Smoke them once more and replace the inner and telescoping cover. Check the food jar and top up as needed.
The first few weeks have passed and your bees have been busy. You’ve kept the 2:1 sugar syrup in the feeder and they’ve built comb and the queen has laid thousands of eggs. As you’ve done your weekly check you’ve noticed they started in the middle and began to work their way out.
Once your bees have filled 7 out of the 10 foundations it’s time to add the second deep super. There’s no big procedure; you just add it when doing your weekly check, the inner cover goes on top followed by the telescoping lid.
The next couple of weekly checks you may find they’ve moved into the second deep and haven’t finished filling the lower deep.
You can move a frame in one or two spaces in the lower deep to help encourage the girls to fill them. Just be sure not to break the brood area.
You can continue to feed them the sugar syrup mixture. It encourages wax making, comb building, and egg-laying. Once you’re into your local nectar flow, you can stop. In my area we have a dearth of flow for about 3 weeks; I may feed them during that time. I have planted many helpful flowers in my yard but it’s not enough to really assist them.
On your weekly hive check keep an eye on the second super. The Dummies book said 7 out of 10 frames drawn was when you added your honey super. I felt I’d been a bit early on adding the second deep so I made myself wait until 7 were drawn.
I should not have done so. I should have listened to my gut as it was telling me to add that honey super.
The next week, I was getting my gear ready to go down and check the girls only to see them swarming. Amazing sight but sickening at the same time. I did collect them from my neighbor’s yard but didn’t have a second hive and by the time I could drive to the store and return with one…they were gone.
This began the frantic attempt to re-queen. Queens are expensive, I still won’t tell my DH what they cost but he does know I made two attempts to requeen. They killed each one off and made their own. From now on, I’m letting them make their own.
The advantage to a swarm is that it disrupts the brood cycle which helps with varroa mite control.
The disadvantage is it disrupts the brood cycle and impacts honey production as the girls leaving gorge on honey to help start the new hive. The only good thing about a swarm is when it’s someone else’s bees and YOU got them.
This year once the second deep is 5-6 frames filled, I’m adding my queen excluder and honey super. The queen excluder keeps her highness out of the honey supers so you don’t have to worry about eggs and larva.
I found the girls didn’t work on the honey supers until after the two deeps were filled so honey supers are going on the hives before they need them. An old beekeeper told me (after my swarm) ‘gotta give them something to keep them busy.’
Swarms happen to all beekeepers. It’s a natural way for honey bees to reproduce. However, we should work hard to keep the girls home. Fewer bees mean less honey for you.
So remember to:
- 1 Avoid congestion. A crowded hive is one that will swarm.
- 2 In overwintered hives, reverse the bodies. (info on this in the next part)
- 3 Add the queen excluder and honey supers
- 4 Provide good ventilation. This is one reason I like the screened bottom board.
- 5 If your inner cover doesn’t have a notch on the edge for additional airflow, glue small sections of Popsicle sticks on the four corners
So aside from seeing the second deep nearly full, what could I have seen to know the bees were readying to swarm? When you’re inspecting you’re looking for the egg pattern, brood, etc. but you also want to watch for crowded bees and supersedure cells/queen cells.
If you see these cells you must remove all of them. 100% of them, if you leave even one then the hive have the signal to bug out. I didn’t take any photos of my girls and their supersedure/queen cells and I didn’t want to link to anyone’s photos due to unknown copyright issues. Just do a photo search, there are tons of pictures out there.
If you find they are still moving forward with swarming then the other thing to try is to remove ALL the frames with capped brood and the bees on them to a new hive, try to assure the queen isn’t on those frames. Then replace those removed frames with new, empty frames.
A hive won’t swarm if they don’t have capped brood equal to the number of bees leaving. Move the new hive as far from the old one for at least 24 hours. Two miles would really be good but for me not really practical so off to the other side of the yard.
After a week check to see if you’ve eggs in the old hive. If you do then yippee, the queen is there and working! If not, then you need to re-queen. So, order a new queen and go through the same procedure as installing her when hiving your first bees.
Check the new hive to see if they have queen cells. If they do then the girls are making a new queen and you can sit back and enjoy. I’d remove all but 2 or 3 queen cells. The first queen to emerge will kill off the others but I don’t want her to have to expend too much energy for that as I want my virgin queen to take flight and mate as soon as possible.
Things are moving along nicely in your hive and you’re doing your weekly checks. You notice there is a brown, sticky substance appearing on the frames, covers, your hive tool and maybe you. This stuff is like super glue what the *#$@ is this? It’s propolis.
The girls gather this super stick stuff from trees and plants and use it to seal the hive, strengthen comb and sterilize their home. You want to remove as much as you can every time you inspect.
As you gather this uber sticky stuff save it to a small container. Propolis has amazing antimicrobial qualities that help fight bacteria and fungi. The Chinese have been using it for thousands of years. You can make a tincture with it. You can even make a fine wood furniture polish with it.
Many beekeepers use a propolis trap to encourage their bees to make more. This trap looks rather like a queen excluder and goes where your inner cover usually fits. In cold weather, propolis is hard and easy to crack and scrapes off your traps much easier.
Propolis tincture from the Dummies book:
- Measure the crumbled propolis and add an equal measure of 100 proof vodka or grain alcohol. (For example, one cup propolis, and one cup alcohol). Place in oven proof bottle with lid.
- Heat the closed bottle in a 200 degree F oven. Shake the bottle every 30 minutes. Continue until the propolis has completely dissolved in the alcohol.
- Strain through a paper coffee filter or nylon stocking.
- Bottle the tincture into dropper bottles.
It’s now the end of your season and the bees have been hard at work laying in their winter provisions. Depending on your area they may need more than other warmer locations. My understanding for MY area is that the girls need 80 lbs of honey to make it to spring.

Remember they visit about 5 million flowers to make one pint of honey. One pint of honey is about one pound; 80 pounds is a #$%@ load of flowers! I tried to be very grateful and respectful when I harvested my honey.
There are lots of different types of equipment for extracting honey. But given that I’m cheap or more nicely said ‘frugal’ and given the expense of startup (and two dead queens) I refused to buy any harvesting equipment. I will add to my supplies this season.
The girls will be very, very defensive of their honey and who can blame them? I did use a ‘fume board’ but found it didn’t do anything for me. It’s supposed to with the addition of some smelly stuff, drive the girls out but that didn’t happen for me.
I ended up just gently brushing the girls off each honey frame. I then quickly removed that frame from the area. This year I’m going to get a plastic file box to hang the frames in so I only have to make one trip.
Honey is dried and ready to harvest when it’s capped. The girls will have a white wax cap over the openings. Again, there’s a piece of equipment you can buy to test the moisture content but cheap me…
I figured the girls wouldn’t cap if it wasn’t ready. Robbing can be a problem and if you see strange bees fighting with your girls you should probably add the entrance reducer now. This will help them keep the thieves a bay.
I decided not to buy/rent an extractor as people have been harvesting honey for centuries without this little helper. I used one of my 5-gallon food grade plastic buckets to collect the honey in. A cap scrapper would be helpful or a hot knife better. I’m hoping for the hot knife. I, of course, had neither, so I used my freshly washed and dried fingers to break open the honeycomb.
I left each frame in the bucket at a slight angle and let the warm honey drip slowly into said bucket. Yes, this took way more time than a machine that spins the frames really fast to fling the honey out.
Once both sides of a frame were done dripping I took it out to the girls and let them clean up the messy honey that remained. They made short work of it.
Once I had harvested all the honey I strained it through a fine sieve although you could use a paint strainer. Save the wax as there are many things to be done with it. I poured it into clean, dry pint canning jars with lids. This is the best honey I’ve ever had. No processing, no heating just pure honey from my girls.
In preparation for winter, I gave the girls an extra half of a pollen patty. The deep supers were so very heavy that I stopped checking the bottom deep. The last check on the bottom one I realized I was in trouble when lifting the top deep super. It was extremely heavy for me.
I did take it to the inner cover on the ground but thought it was a mistake as I did so. (See, listen to your gut!) When I went to replace it I KNEW it was a mistake as I couldn’t lift it up more than knee high. Of course, the bottom super on its stand is about waist high.
So, what’s a girl to do? Well, if you’re going to work with honeybees you’re going to get stung. I figured I just had to take the stings. I lifted the deep super weighing in at close to 80 pounds and gently slid my leg from the outside corner along the super’s edge to help me lift it the remaining distance. Imagine my surprise when the girls all moved out of the way and I didn’t get even one sting! I will not be lifting them filled again.
To help with mite control I gave the girls a heavy dusting of powdered sugar. Yes, I powdered the bees. This makes them groom each other and that helps to knock off the mites. If you have a screened bottom board the mites will fall to the ground and not be able to get back to the bees.
If we were bees with mites it’d be like having rats on us that we couldn’t get rid of. I treated for foulbrood with terramycin following the package directions. I covered the hive with an insulating wrap, removed the entrance reducer and placed the mouse guard over the entrance.
I also ran a tie-down strap (like for a boat cover) over the entire hive to help keep the top on in case of winds.
My girls were buttoned up for winter and on their own. Great now I can worry till spring…..
During winter bees stay inside and do not use the ‘restroom’ so on nice days when the sun is shining, there’s little wind and temps are close to 60 degrees F. they will do a ‘cleansing flight’. This means they fly outside to poop, try not to be in their line of fire.
Many hives die as they approach spring due to lack of food. If you have a nice day and the girls are out you can do a quick peek to see how their stockpile is holding up. If you fear they are getting low you can give them sugar cakes and pollen patties. Do Not give sugar syrup.
If you’re going to give them sugar cakes you’ll need a taller inner cover which you can get from your local supplier.
Sugar cake
- 5 pounds of granulated sugar
- 7 ½ ounces water
- 3 tablespoon of lemongrass and spearmint essential oil mix (see below)
Pour everything over the sugar and stir to mix well.
Pour into a wax paper lined 9 x 13 pan. Cut into 4 sections, pushing the sugar mix to give about ½ inch between each section. Place in oven with the oven light on. Leave the light on for 24 hours to dry out the cakes. Do not turn on the oven….
Place on the top of the frames to give emergency food to the bees.
Essential oil mix
- 100% pure food grade spearmint and lemongrass essential oils
- 1/8th teaspoon Lecithin granules (local health food store)
- 2 ½ pounds sugar
- 5 cups water
Bring water to a boil add sugar, stir until dissolved. Remove from heat and add lecithin stir well. Once this is cooled add 15 drops each of the essential oils.
To help combat tracheal mites you can give grease patties…
Grease Patties
- 1 pound of granulated sugar
- 1 ½ tablespoon corn oil
- 1/4 pound Crisco (not lard)
- 1/4 pound honey
- 2 ounces pink salt (can use rabbit wheel salt ground up)
- 3 teaspoons lemongrass essential oil
Mix all together with gloved hands. Scoop into about 2-ounce portions and form into ‘hamburger patties’. Extra patties can be frozen until needed. Place two around the frames tops.
A few weeks before the first blossoms appear you’ll want to treat for Nosema and Foulbrood. Follow the package directions. Keep an eye on their general health. Again, the Beekeeping for Dummies is a great book and will give more detail than I’m going to.
The final topic for this series is reversing hive bodies. Again, springtime only and there is some discussion as to the importance of this. Your apiary, you decide.
On a nice sunny fairly warm spring day of not less than 50 degrees F. smoke the bees. Remove the outer lid and lay upside down on the ground. Then without removing the inner lid, lift the top deep super and move it to the upturned outer lid.
Look inside the lower super, it will probably be close to if not empty. Lift if off the bottom board and set it crosswise on the upper super. Scrape and clean the bottom board. Then lift the super that was the lower super and set it on one end on the ground.
Take the original upper super and set it on the bottom board. Smoke the bees and then remove the inner cover. Place the old lower super on top of the new lower super; replace the inner cover and outer lid.
This is supposed to help with distribution of brood, honey, pollen etc. Plus bees like to move up so it gives them that too. In about three or four weeks you do this again, returning the hive to its original superpositions. When you do, you can add your honey supers, assuming, of course, the bees bring nectar and you’re not medicating any longer.
Remember, this is a very, very short tutorial on beekeeping.
The book “The ABC and XYZ of bee culture” is considered to be the bible of beekeeping. You can find free downloads of it here: http://archive.org/details/abcxyzofbeecultu00root it’s very detailed and for the beginner, the ‘Dummies’ book is much easier; at least in my humble opinion.
How do you eat an elephant? One bite at a time. Hopefully, I manage to give you bites on this elephant of a subject. Honey bees are very important to our food crops, 2/3’s of them need the bee for pollination without which they can’t produce the food. Colony Collapse Disorder, not disused here is a huge issue.
There are several thoughts about what’s causing this problem and the EPA doesn’t want to hear that corn and soybean farmers, GMO’s, insecticide usage etc, could be the issue. One thing is pretty certain. If something isn’t done to help the little honeybee…by 2035 North America will not have any.
So with that thought, I want to encourage everyone to practice backyard beekeeping. If you can’t do that, how about landscaping with the girls in mind? Thanks for hanging in there with me on this how to raise honey bees series.


![Blackberries [early-late July]](https://mdcreekmore.com/wp-content/uploads/2018/09/Blackberries-early-late-July.jpg)
![Elderberries [early-mid August]](https://mdcreekmore.com/wp-content/uploads/2018/09/Elderberries-early-mid-August.jpg) Elderberry bushes don’t have thorns, and for that I am grateful. The berries are cleaner to collect, as they tend not to burst when picked, which is another big benefit. The downside – unripe elderberries contain the mildly toxic sambunigrine, so only eat the really ripe ones.
Elderberry bushes don’t have thorns, and for that I am grateful. The berries are cleaner to collect, as they tend not to burst when picked, which is another big benefit. The downside – unripe elderberries contain the mildly toxic sambunigrine, so only eat the really ripe ones.
 by Goat Mama 12


 by Chuck H
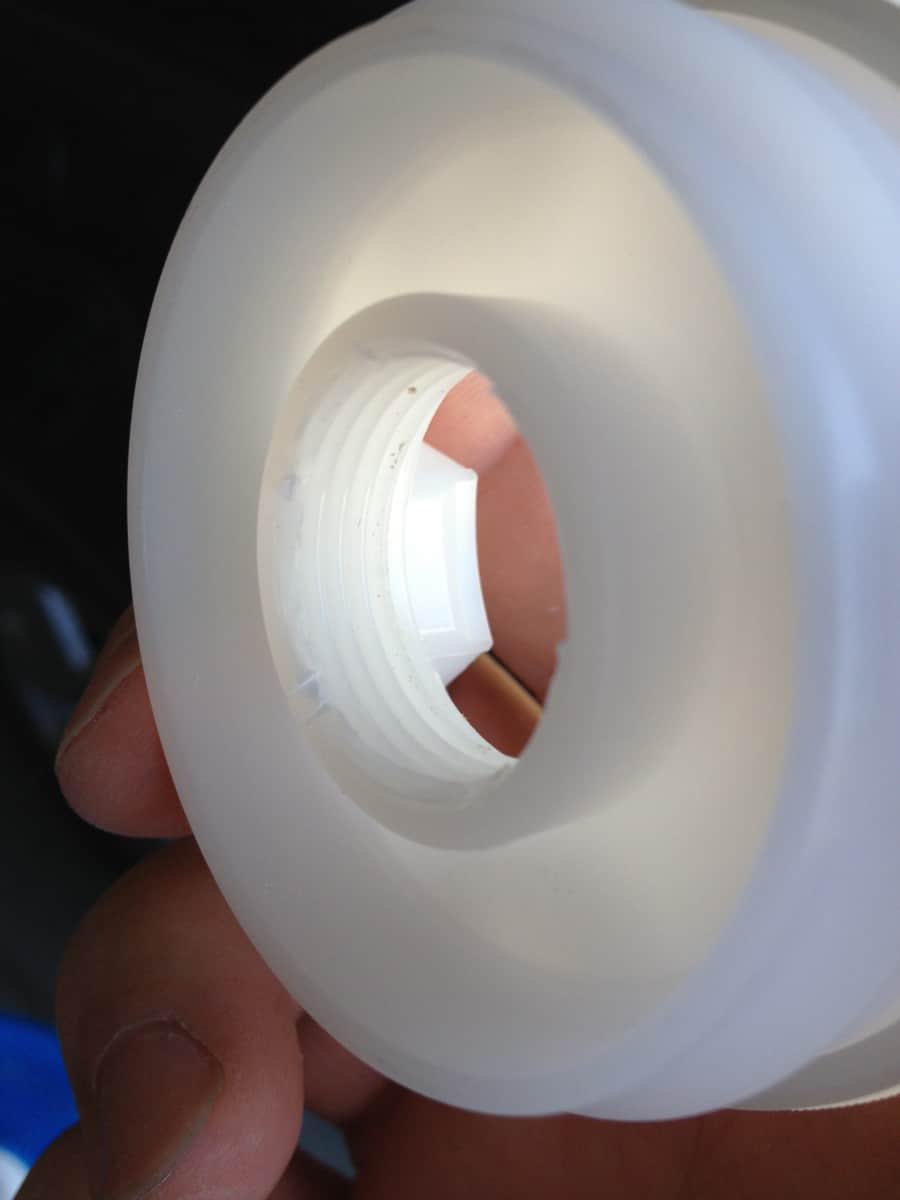
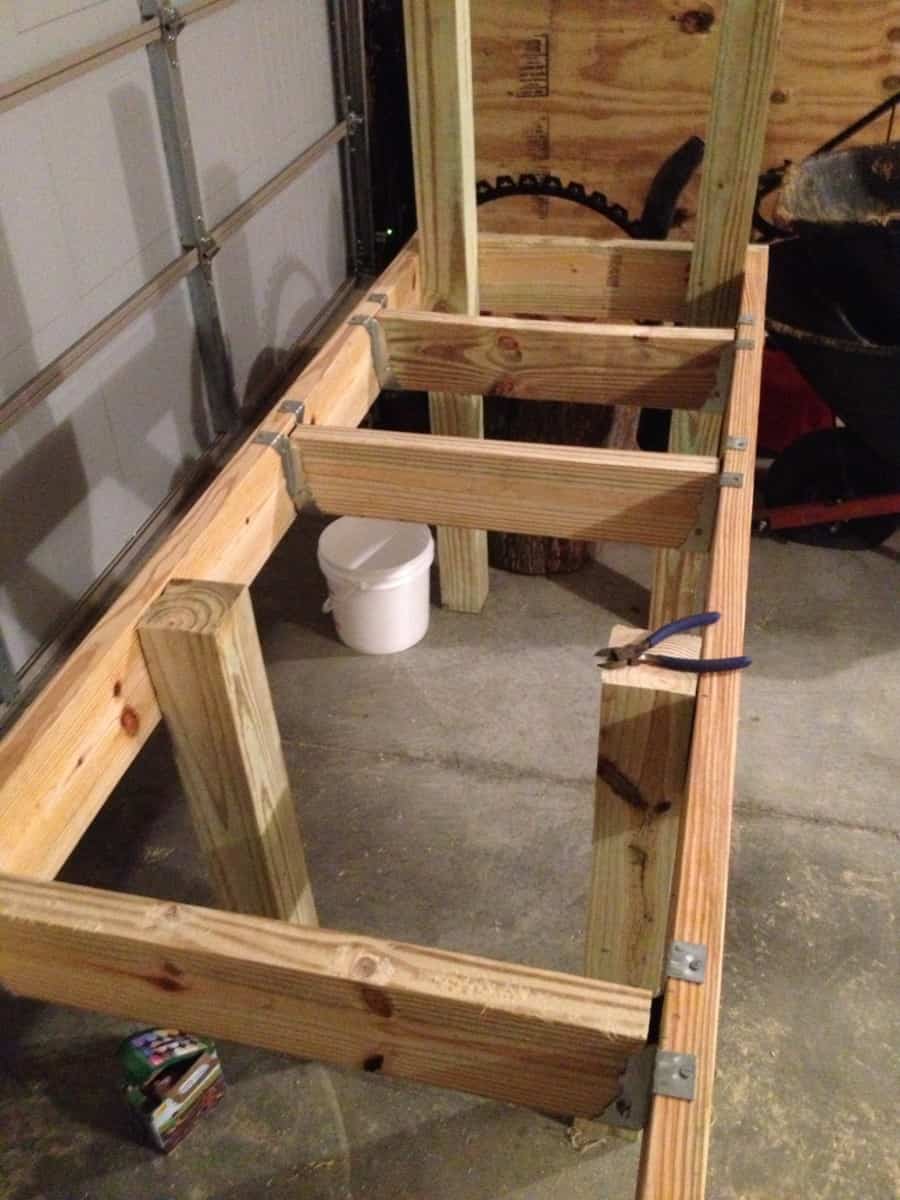
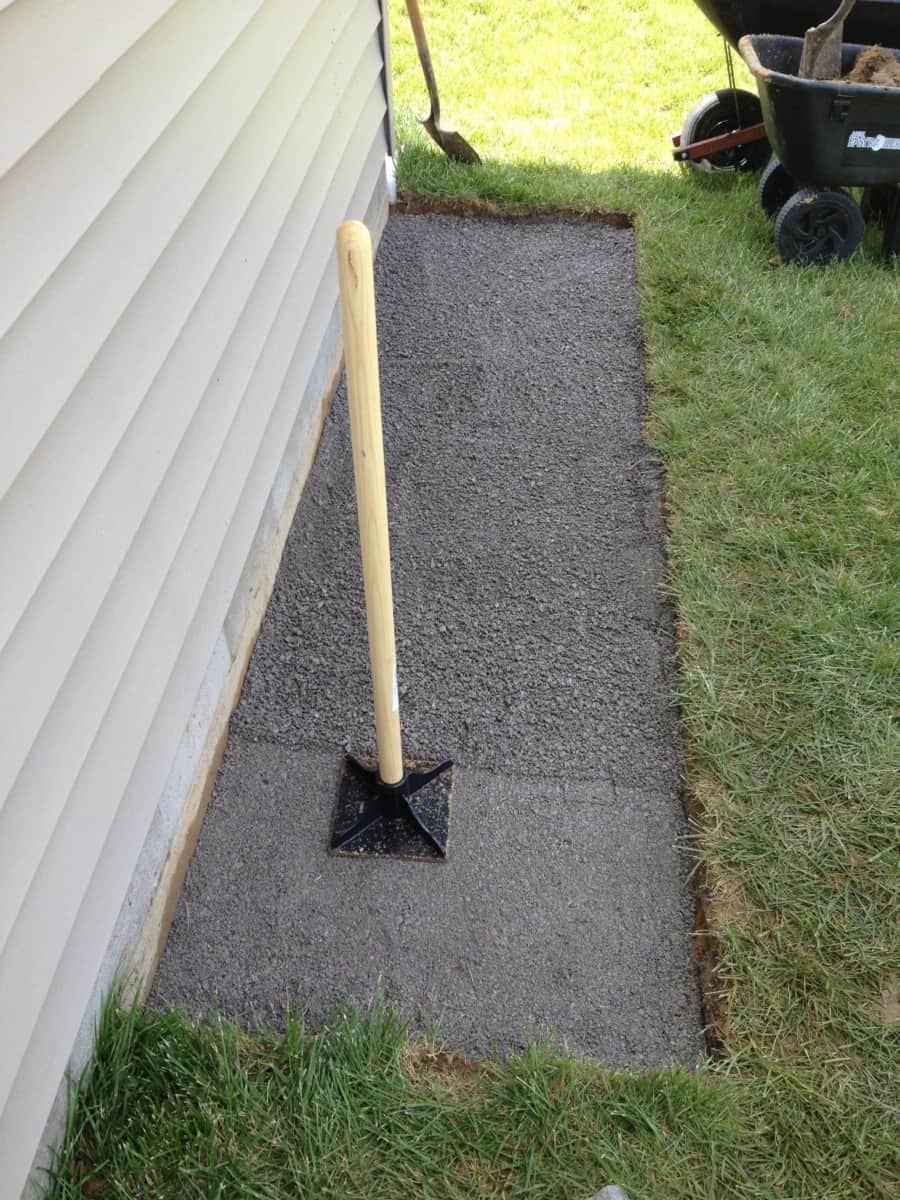

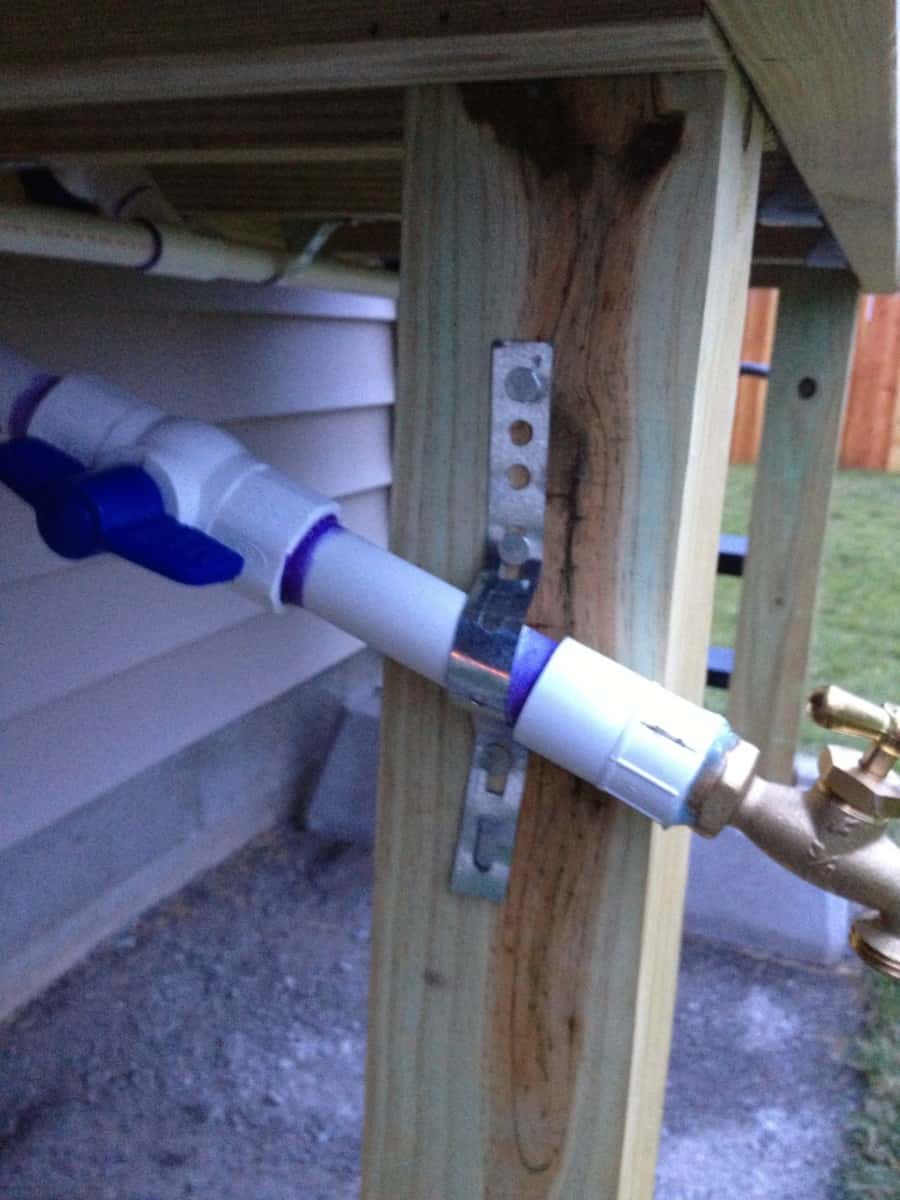 I failed to mention that I also have a small retention basin in my backyard. I drain the barrels before winter so they won’t turn into huge ice chunks. The plan is to use water from the retention basin during the winter if needed. While doing my research I read that rainwater off a roof is not potable.
 by MountainSurvivor