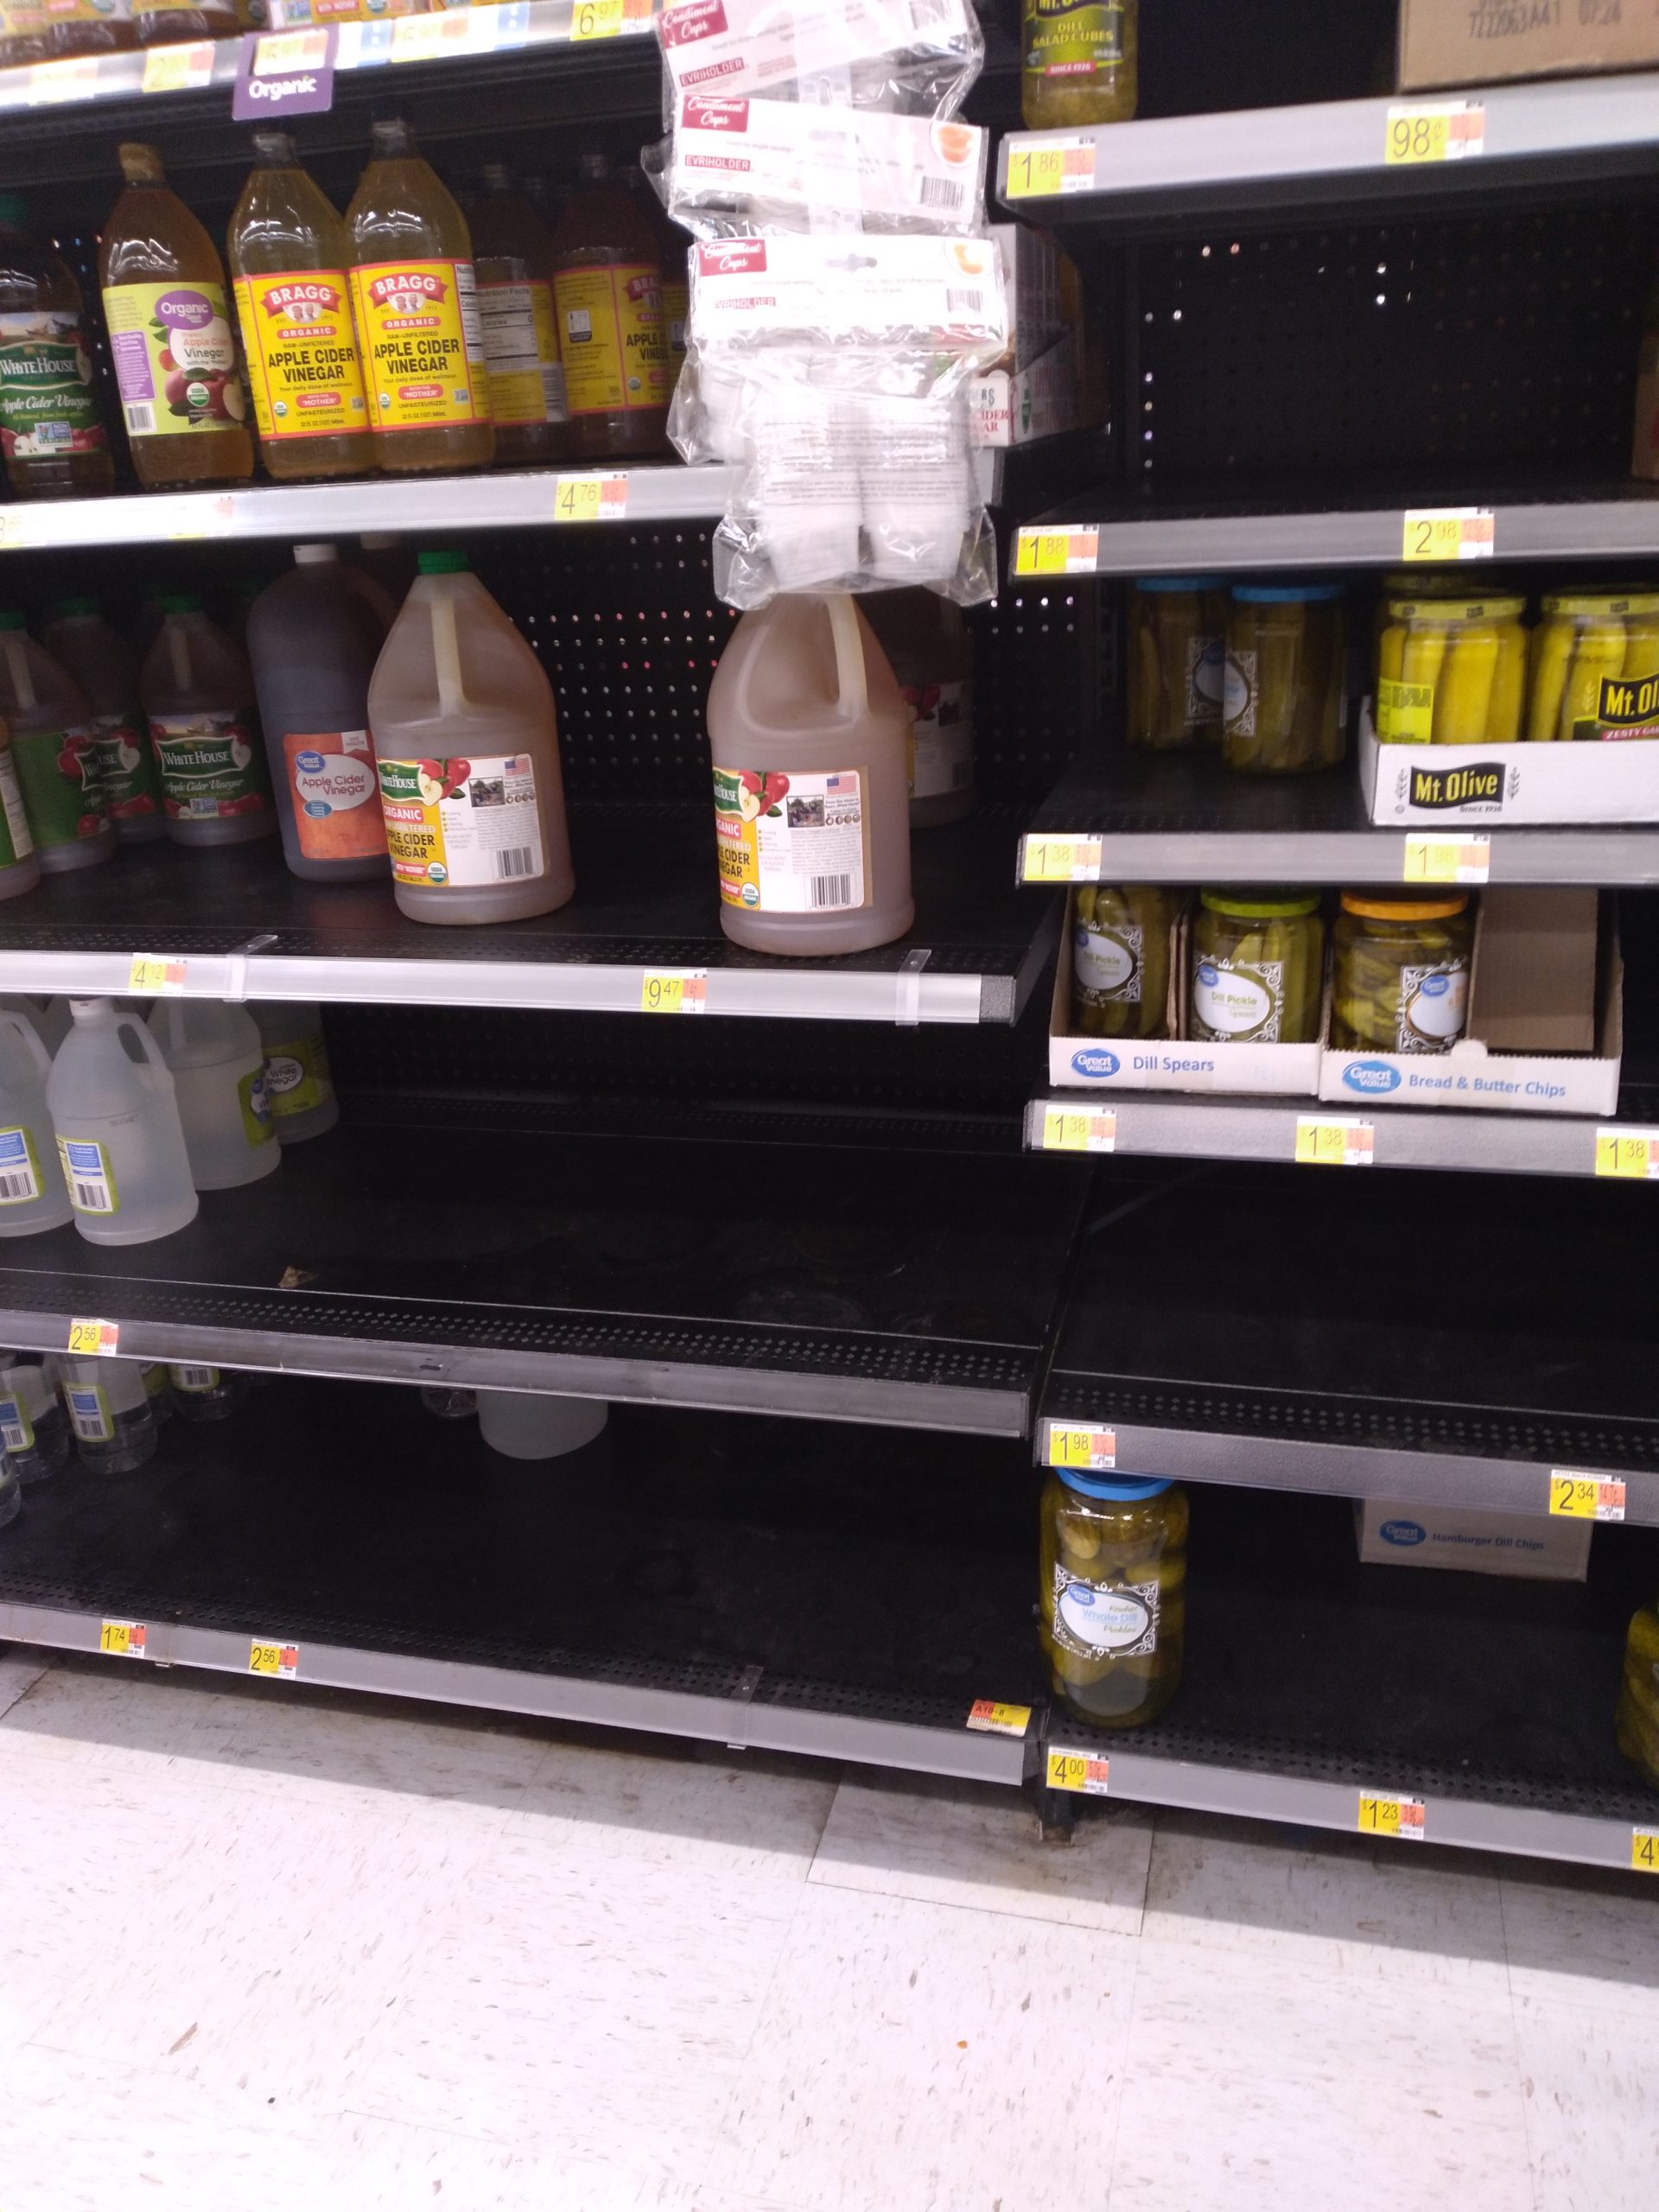
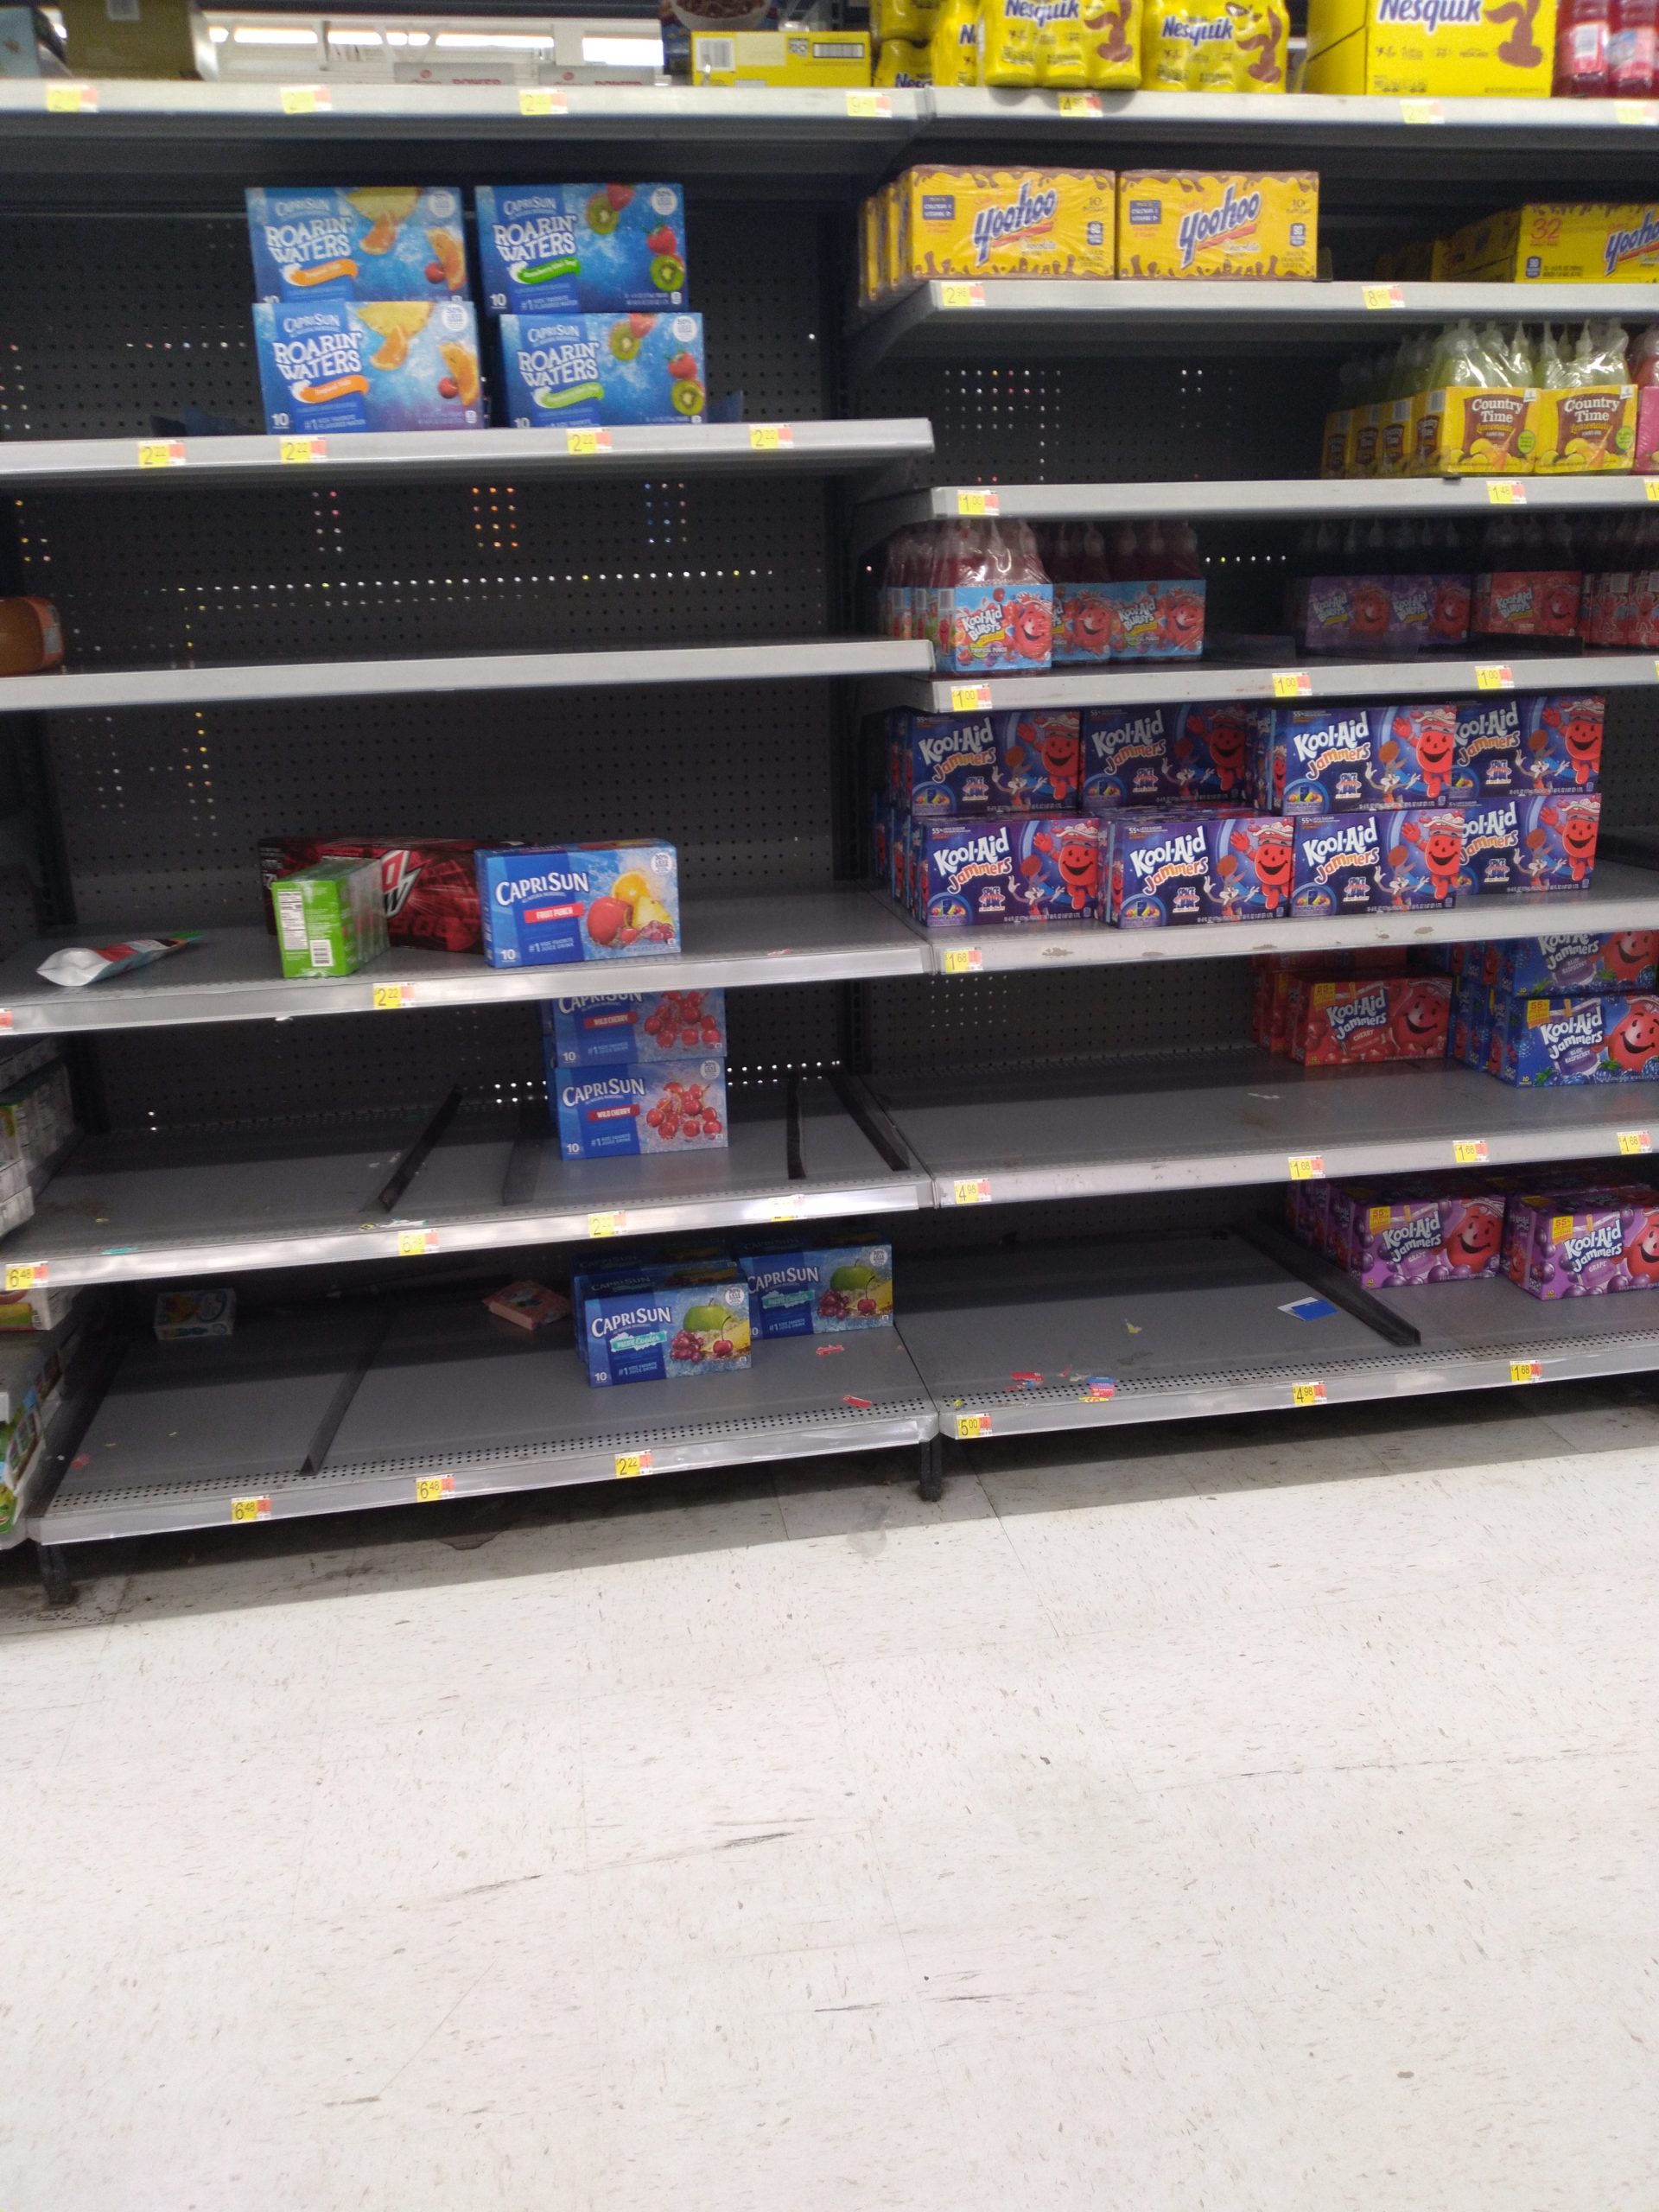
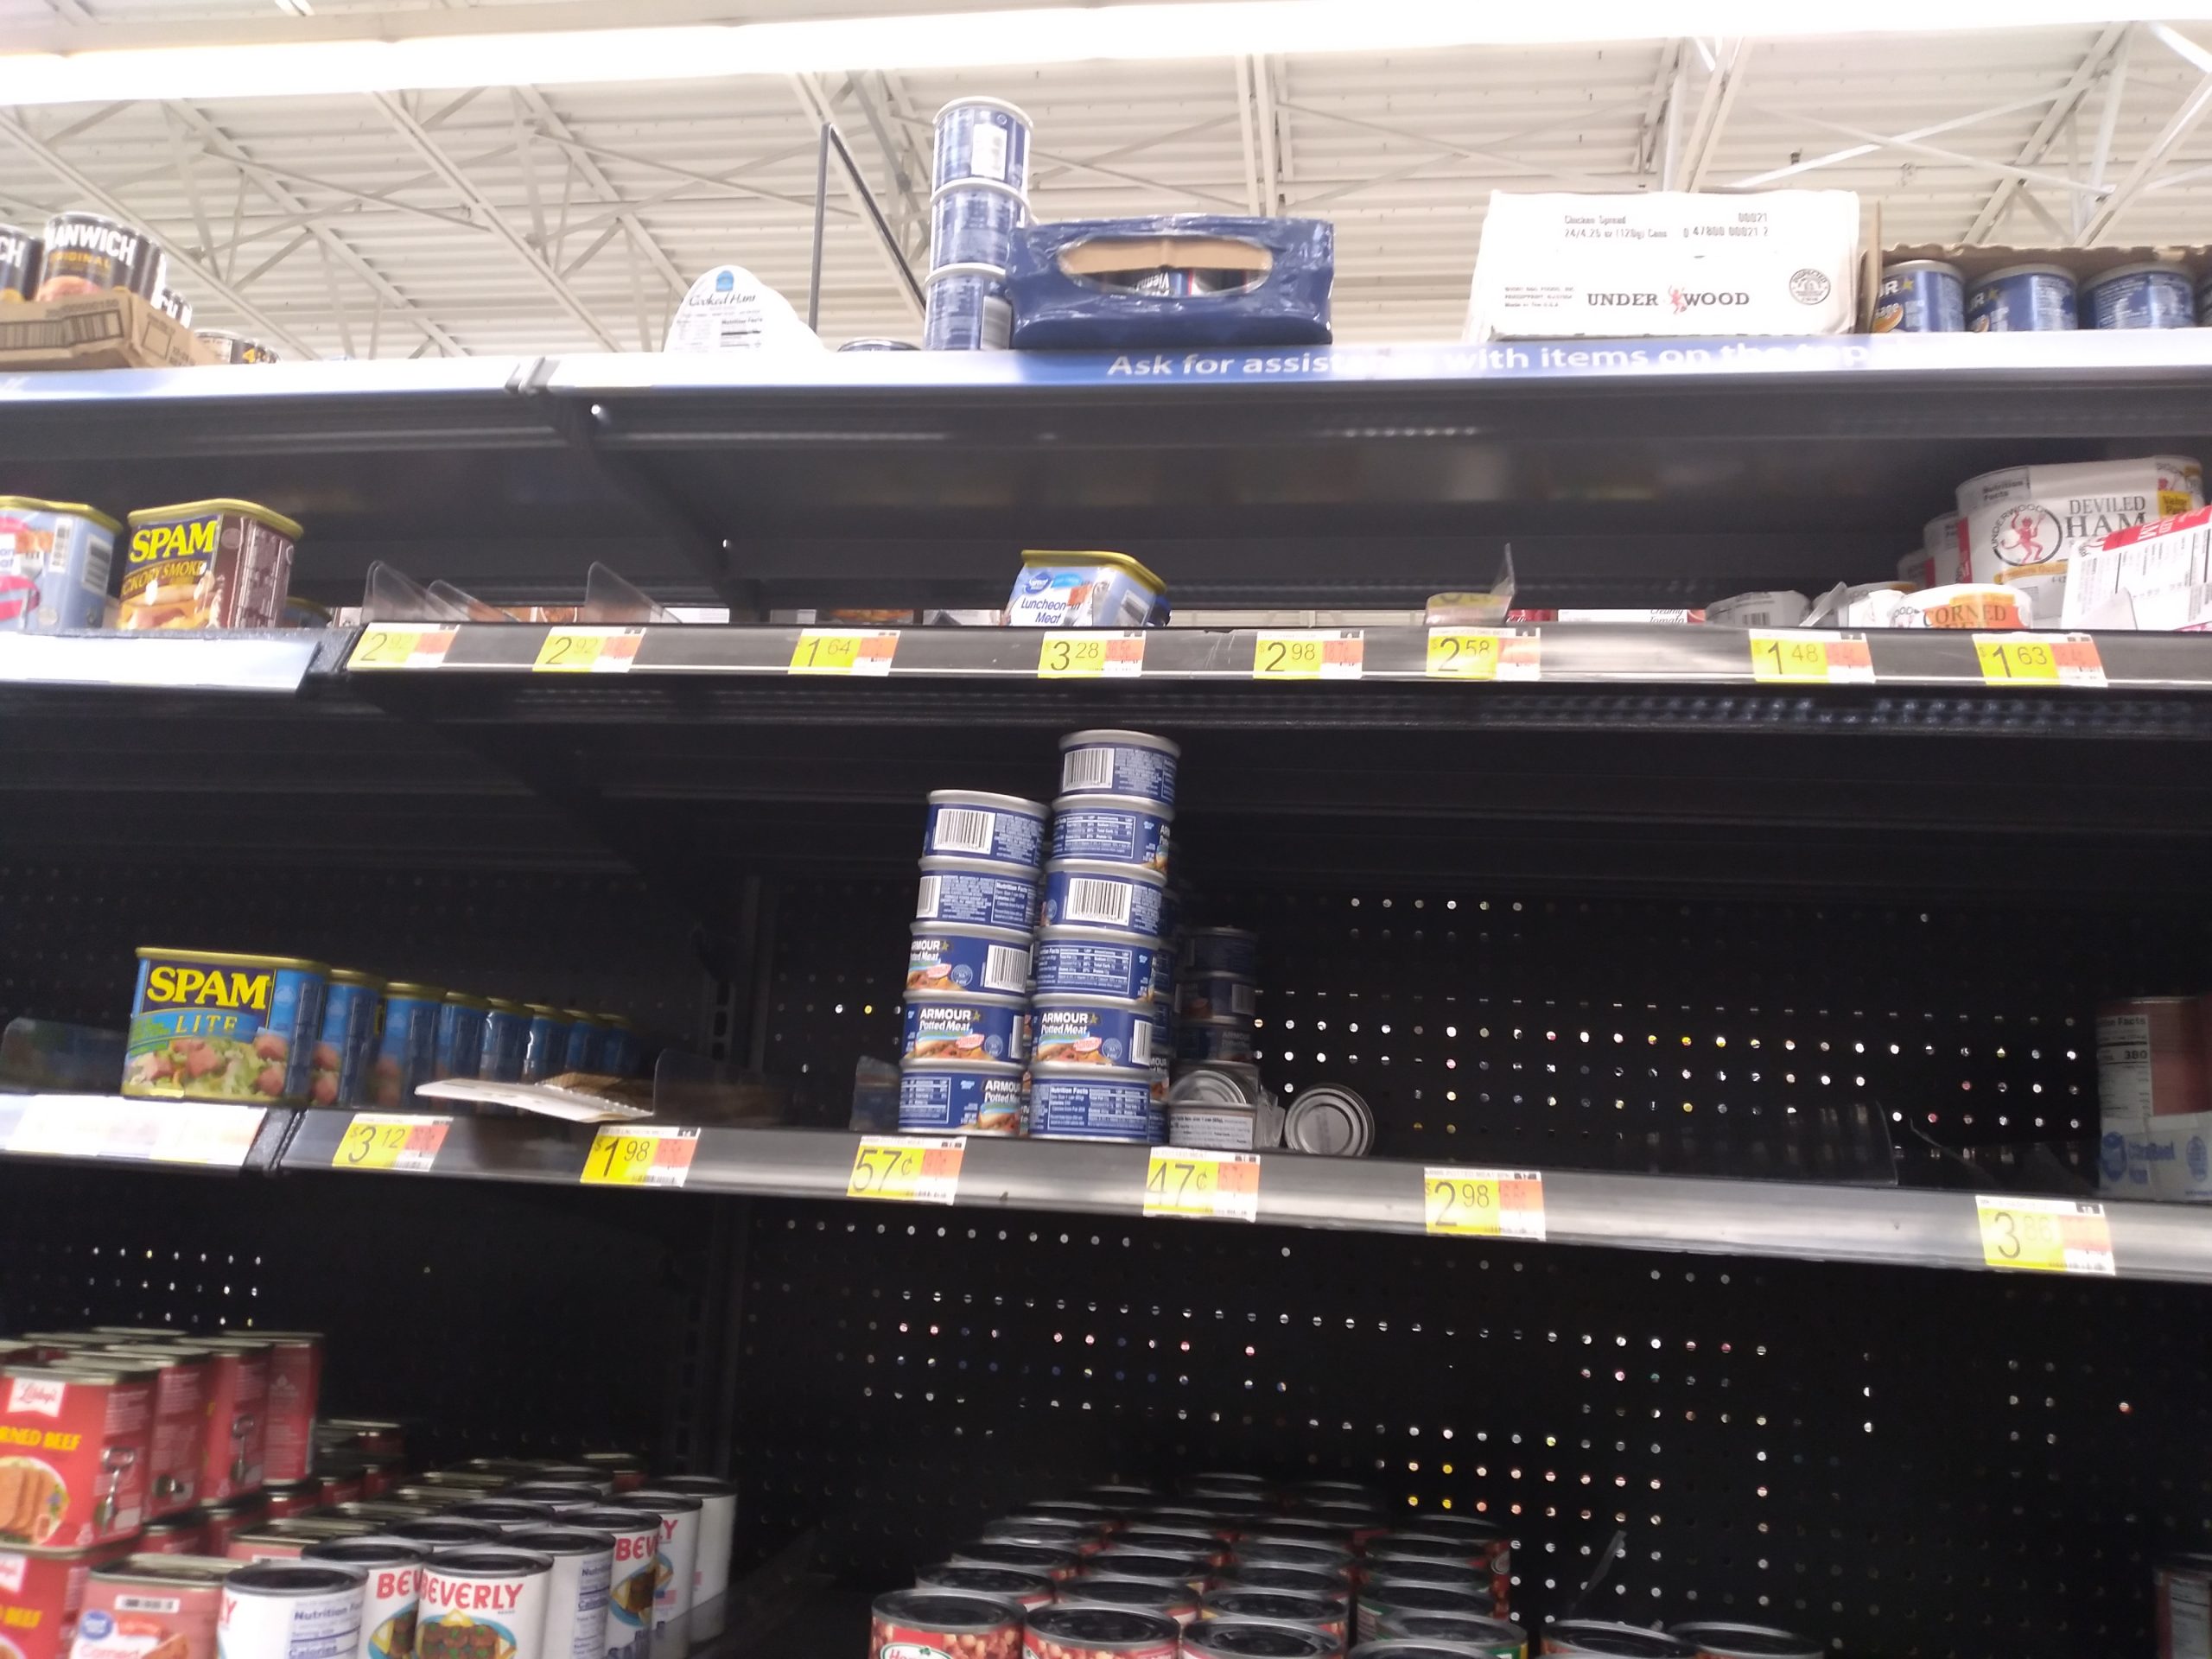
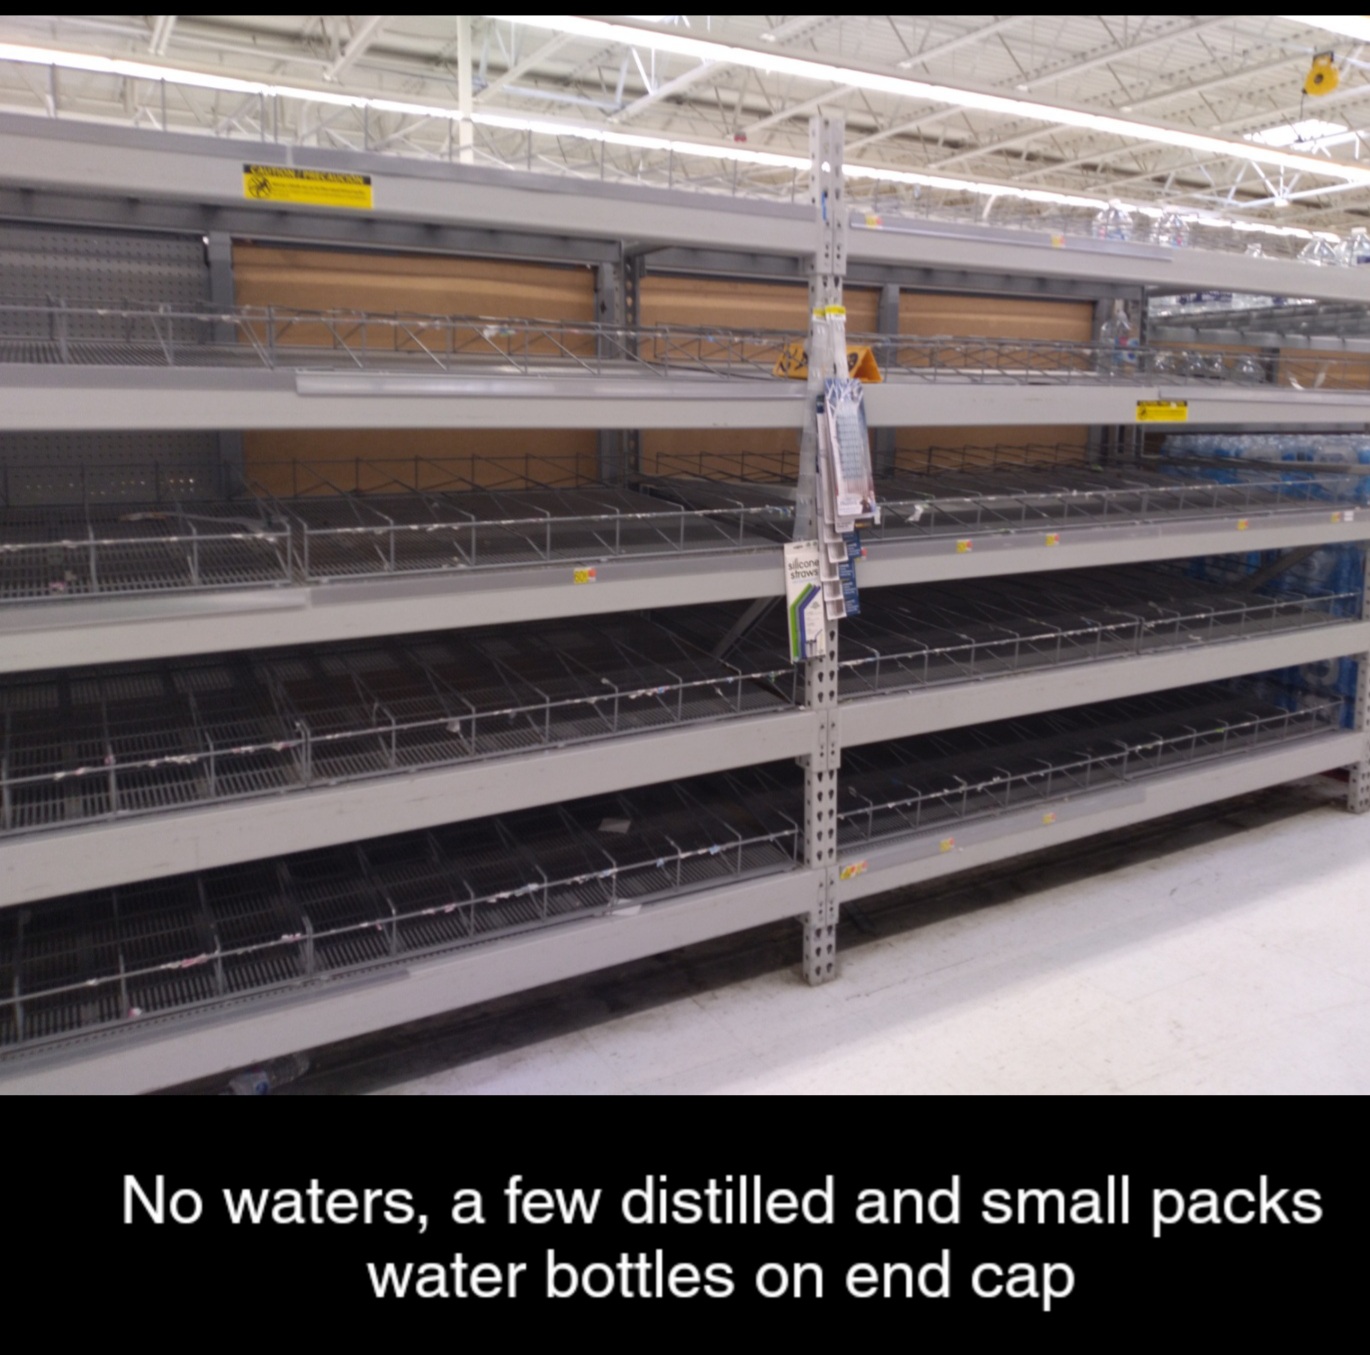
These photos where sent in from a reader in Eastern North Carolina. I hope you all have been prepping because the shortages are going to get much worse.
Just thought I’d share the shortages I saw today at local Walmart. Lady at register and I were talking about shortages, price increases and she said, they were told, “what we have is what we have certain things no restock coming in”.


 If you feel lost and don’t know where to start or not sure how to prep then start here – The Quickest Way I Know To Get a Family of Four Prepared for The Coming Collapse. Time is running out to prepare appropriately, so do the best that you can with what time we have left. But please do something! Anything beats nothing.

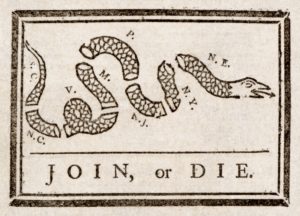
 In 1778 the United States Congress began using the War Office Seal, which was replaced in 1947 for the official document used by the Department of Army Emblem, pictured here. As you can see, the rattlesnake, like the bald eagle and the lone pine tree, features heavily in our history and documentation.