It seems everyone likes lists.
Lists are a quick reference point and a guide when stockpiling survival gear. Keep in mind that this is only a guide and not a list formed in stone. The tools and gear that you include should be individualized for you and your needs.
After all, who knows your skills, location, and resources better than you do? However, with that being said, I feel this list is a good starting point and a thrust in the right direction. It represents the bare minimum amount of gear.
I have purposely left out such items as cookware, clothing, and other everyday household items.
Every home should already have a plentiful supply of these everyday staples. I have also not included food, barter goods or firearms since these have already been covered, or will be, covered in more detail in other articles.
I have tried to keep this list as short and as to the point as possible. I have included only items that I feel are essential.
Sure, you could survive with less, but with some basic gear, things become less of a challenge. If nothing else, it should generate discourse. Let us get started.
1. Water filter
Even though we talked about water and the Berkey filters earlier, it is such an important and vital piece of survival gear that it bears repeating. Get a good water filter. The one that I recommend is the Big Berkey filter system (check current price on Amazon).
You should also have a smaller portable filter for when you are on the move.
2. Chainsaw
A chainsaw is essential if you are planning to heat with wood. Even if you are not, I still recommend that you get one. A chainsaw can be used for a lot more than just cutting firewood. It can be used when building wooden structures, and cutting felled trees that are blocking the roads leading to your location.
This is a great chainsaw for the homestead or farm.
3. Chainsaw accessories
Now that you have a chainsaw, you will need a few things to keep it running. To start, you will need mixing oil, bar/chain oil, and files. A spare saw is also nice to have and the quickest “repair” when a chainsaw breaks.
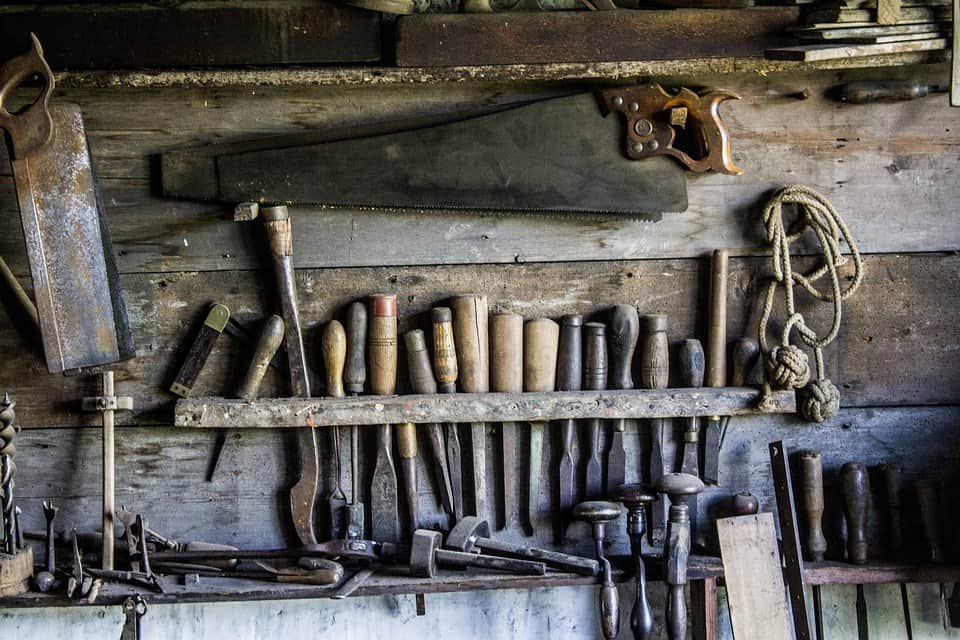
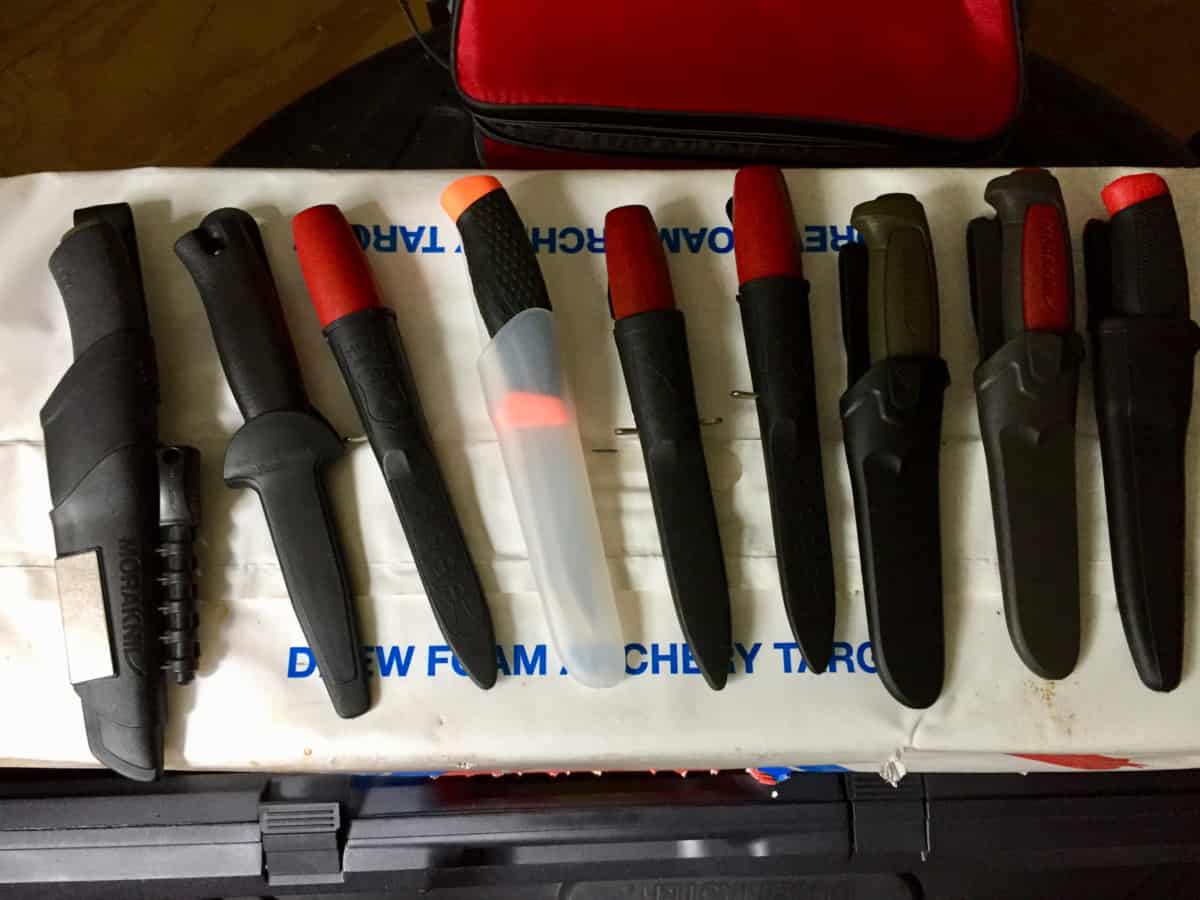
4. Basic tool-kit
Tools are essential prepper items and should not be overlooked. Instead of buying your tools one-at-a-time, it is quicker and in most cases cheaper to purchase a ready-made kit. After you have a basic kit, you can add tools as funds permit. Consider hand saws, drills, and other tools that do not require a source power to operate. See this article for a complete list.
5. Electrical generator
Current prices for electrical generators can range from just over one-hundred dollars to one-thousand dollars or even more, depending on what you get. I suggest that you get the best that you can afford.
Consider purchasing a diesel-powered model over gasoline if you can find an affordable one.
6. Work clothes and safety gear
Do not forget your safety when working with tools and saws. The last thing you need is to get hurt during a grid-down situation. Start by storing at least 12 pairs of good quality work gloves and several pairs of steel-toed boots, as well as eye protection, protective chaps, hearing protection, etc.
Always remember to work extra safe and to take every precaution to reduce the likelihood of getting hurt.
7. Five-gallon plastic buckets
It’s a good idea to have several of these around because they have multiple uses, for example carrying water, animal feed, garden produce, tools, etc.
8. Hunting Deer Cart & Game Hauler Cart
These carts work great for moving downed deer out of the woods and moving heavy but awkward loads around the homestead. They also work great on foraging trips after a crash where you need a way to haul scrounged supplies back to your survival retreat. This is the one that I have – click here to see it on Amazon.com.
9. Plastic sheeting
Six-mill plastic sheeting has multiple uses, including temporarily stopping a leaky roof, sealing windows, and as improvised body bags. You should include at least one large roll in your preps.
10. Tools of your post-collapse trade
The best barter item is you and your skills, and you will need the necessary tools to apply your trade on hand and in good working order. I suggest that you include at least two of each of those tools because it will be impossible to perform your trade with them.
11. Gardening tools
Get the best tools that you can afford. Most of the “tools” sold at Wal-Mart® are nothing but low-quality Made-in-China junk that will fail under hard use, especially when you need them the most.
12. Reloading gear
If you are not reloading your own ammo now, you need to start. I suggest that you buy a complete reloading kit to start with instead of trying to put it all together one piece at a time. Check out this article on TN Concealed Carry for the best reloading kit for under $40.
13. Animal Traps
I prefer live traps and snares for survival food procurement purposes to leg-hold type traps. Leg-hold traps are designed for catching fur-bearing animals and are not as effective when it comes to catching meat for the stewpot.
14. Camp toilet
We all have to go and we need a place to go, so I suggest that you have a camp toilet or a bucket with a screw-on lid to hold human waste until you have time each day to dispose of it properly. In the country, build an outhouse.
Be sure to put back some hydrated lime – poop, and then cover with a scoop of hydrated lime.
15. Personal items
Get a quality sleeping bag and enough toilet paper, toothpaste, brushes, soap, tampons, eyeglasses, sunscreen, medications, birth control, etc. for each person in your group to last approximately one full year. Note that this may be impossible with certain medications.
16. Antibiotics
Having a supply of antibiotics can mean the difference between life and death. For the survivor, unfortunately, maintaining a good supply can be nearly impossible when going about it the traditional way. Fortunately, companies like Camping Survival are selling “fish antibiotics” that pharmacologically indistinguishable from those prescribed by your doctor.
Disclaimer: Always seek medical advice from a licensed professional for diagnoses and treatment options.
 by Chad H
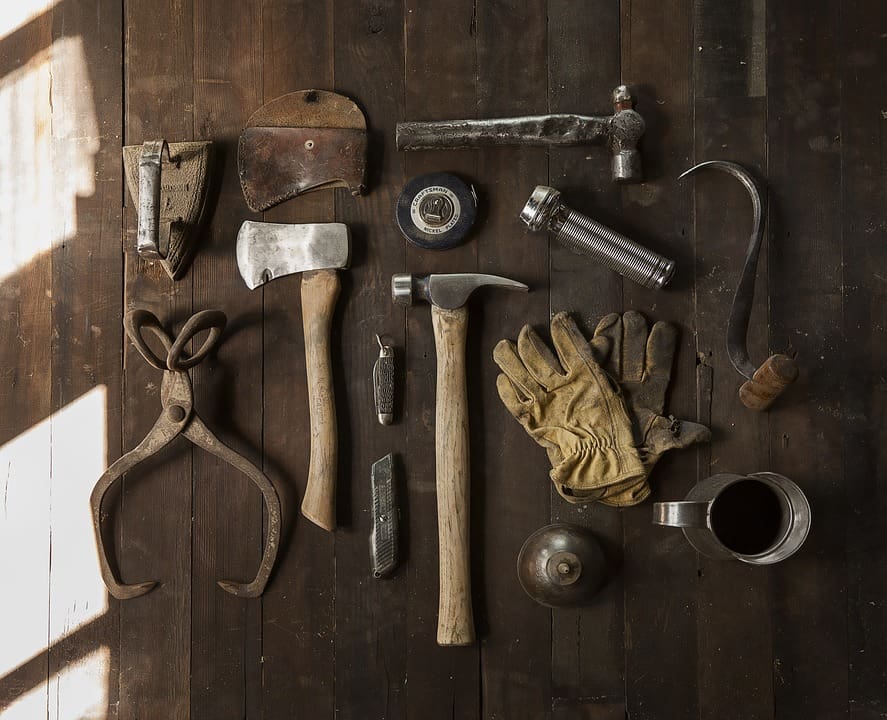


![Blackberries [early-late July]](https://mdcreekmore.com/wp-content/uploads/2018/09/Blackberries-early-late-July.jpg)
![Elderberries [early-mid August]](https://mdcreekmore.com/wp-content/uploads/2018/09/Elderberries-early-mid-August.jpg) Elderberry bushes don’t have thorns, and for that I am grateful. The berries are cleaner to collect, as they tend not to burst when picked, which is another big benefit. The downside – unripe elderberries contain the mildly toxic sambunigrine, so only eat the really ripe ones.
Elderberry bushes don’t have thorns, and for that I am grateful. The berries are cleaner to collect, as they tend not to burst when picked, which is another big benefit. The downside – unripe elderberries contain the mildly toxic sambunigrine, so only eat the really ripe ones.
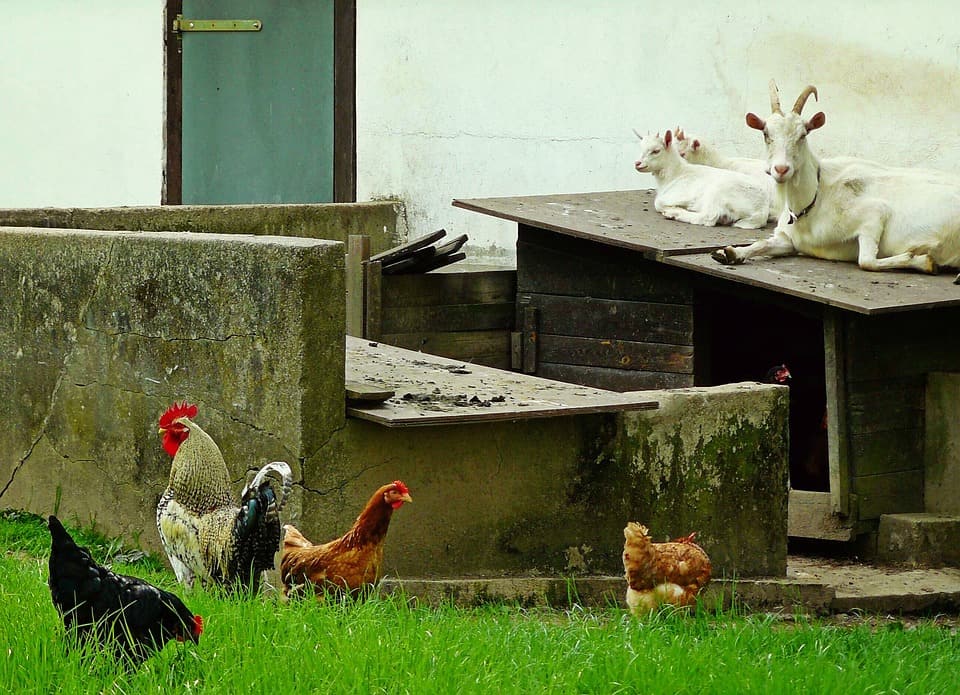
 by Goat Mama 12