
by CB There are some basic principles that need to be taken into consideration when saving medication, which includes the expiration date, storage conditions, and what type of medication you are attempting to store. The easiest way to get extra medication would be to start refilling your medications five days early from the pharmacy. This will […]
Self-Employment Ideas With Low Start-Up Costs

by Seeuncourt “Opportunity is missed by most people because it is dressed in overalls and looks like work.” – Thomas A. Edison Whether you want to leave the rat race, get off the grid, retreat from the city, enjoy a simpler life, or become self-sufficient, whatever your motive – to achieve your goals you need an income. You […]
DIY Homemade Mosquito Trap [That Actually Works!]

By Matt D You can keep mosquitoes away from your home for good with a few homemade mosquito traps and other simple and easy DIY steps that you can do at home cheaply and quickly… (Note: If you want to skip all of the details about mosquitoes and how they can spread sickness and disease […]
Best Throwing Tomahawks [SOG Tactical Review]

by Mike I’m always on the lookout for new and better gear. We should all be doing that, and for most of the readers of MDCreekmore.com, I think that statement holds true. Today I’d like to talk about the SOG Tactical + Throwing Tomahawk. I saw it for sale on Amazon and decided to snap it […]
Are You Living in a Nuclear Death Zone? Find Out with the U.S. Nuclear Target Map

A few days ago I was doing research on nuclear war, world war 3, and potential nuclear targets and safe distances from those target sites when I came across the NUKEMAP. The U.S. nuclear target map is an interesting and unique program unlike other nuclear target maps because it lets you pick the target and […]
How to Pack a Bug Out Bag

by Everyday Prepper Bug Out Bags (BOBs) have been hotly debated on the internet for some time and while I don’t expect my post on how to pack a bug out bag to put an end to the discussion I thought I would throw in my two cents for those readers out there that are just […]
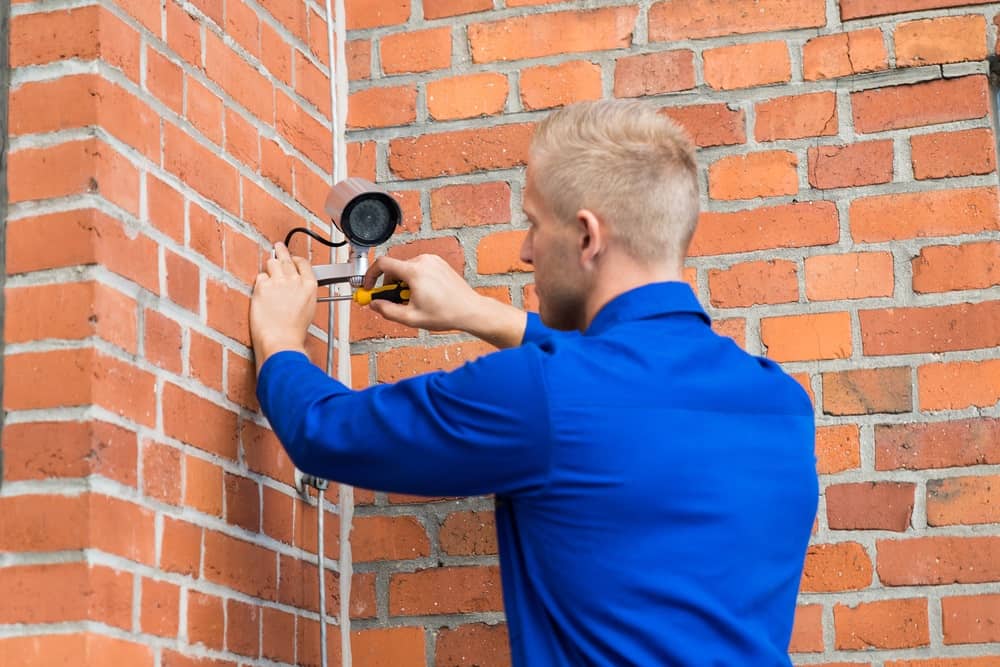
10 Tips to Secure Your Apartment for Under $30

Buying a ready-to-occupy or customized apartment is just one part of the story. There also is the need to ensure that the apartment remains in the best of the condition and also is safe and secure. It is common for most homeowners and tenants to hire professionals to take care of apartment security.
The First 23 Things I Put In My Survival “Go Bag”

Some people might consider a bug-out bag and a 72-hour kit as essentially the same thing. For the purposes of this article, we will consider them as two separate kits. The 72-hour kit is more of a “stay at home and ride out the short-term disaster” kit, while the bug-out bag described below is more […]
Bug-Out Bag Guide and Checklist

by Mike If you are like me, you may find prepping for everything to be a little overwhelming. It can seem that no matter how much you have, there just is never enough. I have read hundreds of articles and watched endless videos on what to carry for EDC and how to make a BOB/INCH […]
What Should I Put In My Child’s Bug Out Bag?

by Beckie B As many of us are working on our bug out location, stocking food and water, which we all know takes both time and money. You might be working on living off the grid, solar, wind and water which again is time-consuming and costly, securing guns in case martial law goes into effect, and […]
12 DIY Home Security Hacks for Under $20
by Tomwat01 Being one of the responsible property owners out there, it’s your duty to keep your residence protected as well as safe. However, it is not the fact that you will be able to do so only by investing a considerable amount of cash. There are many ways to get the job done without […]
10 Ways to Dramatically Improve Your Front Door Security

If you’re really looking forward to proper home security, take adequate measures in strengthening your door frame. While most external doors are built quite sturdy, not all of them fall under this category. Also, if your door is hollow in the interior, it’ll be easy to break through even if its body is made from metal.